When working with a geomembrane liner, it’s crucial to comprehend the product’s strengths and the proper installation steps. This article outlines Geofantex’s installation guidelines, which draw from ASTM and the Geosynthetic Research Institute.
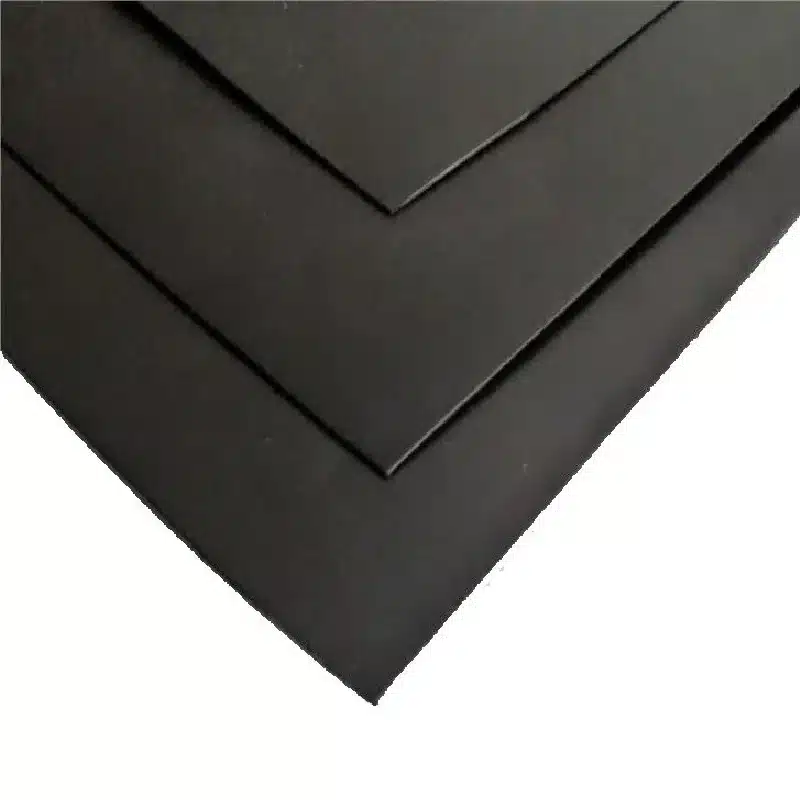
We’ll concentrate on the installation of high-density polyethylene (HDPE) liners with a density of 0.940g/cc and higher. This article will:
- 1. Specify HDPE geomembrane liner project conditions.
- 2. Discuss methods for ensuring product quality.
- 3. Explain subgrade preparation.
- 4. Share best practices for placing the geomembrane.
- 5. Highlight welding guidelines for optimal results.
- 6. Review various field quality control procedures.
- 7. Test project quality
Step 1: Qualifications for Manufacturer and Installer Selection
Before embarking on a geomembrane project, it’s essential to verify that your chosen manufacturer and installer meet the minimum qualifications for a successful endeavor. Ideally, the manufacturer should boast a minimum of five years of experience in producing geomembrane products that align with your project’s design specifications, with an output of at least 100 million square feet in the past five years. Similarly, the installer should demonstrate a track record of at least three years’ experience, having completed a minimum of 10 projects totaling five million square feet of installed product.
Depending on your project’s complexity, additional qualifications may be necessary. Once you’ve identified qualified manufacturers and installers, you can proceed to implement stringent product quality control measures to ensure that your project aligns with your specific requirements.
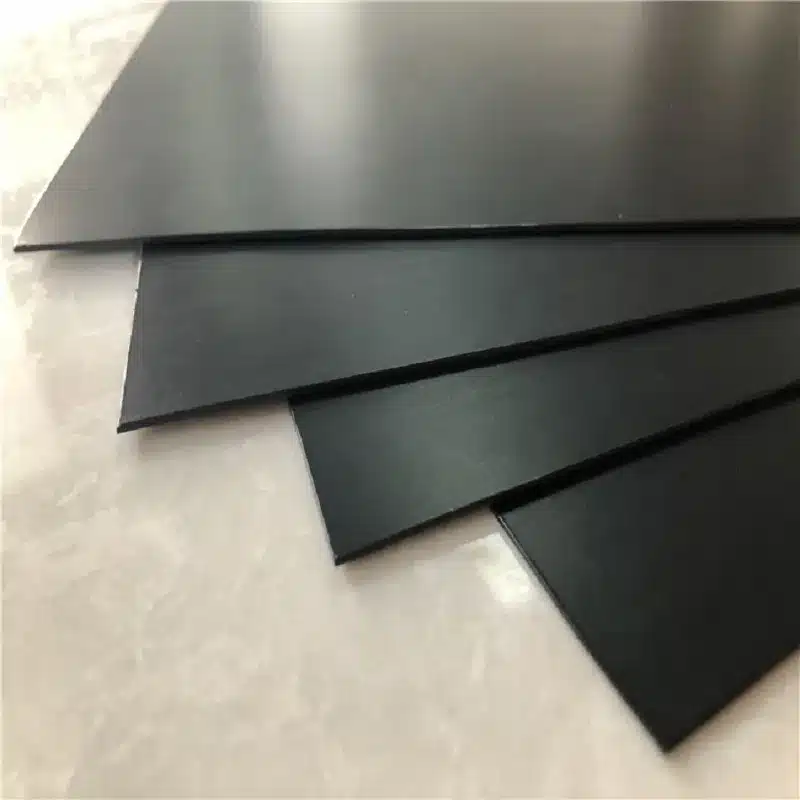
Step 2: Product selection and quality control
Despite specifications, it is good practice to test samples of the product. Manufacturing quality control is one important set of tests to ensure the product meets U.S. standards. HDPE geomembranes should, at a minimum, meet GRI GM 13 in most cases. You should ask for quality control certifications and results from those tests to ensure that the materials supplied for the project are in compliance and meet project specifications.
Furthermore, geomembrane liners should pass visual inspections. The liner should be new and without physical defects such as holes, blisters, or visual indications of contaminants. The final product should also be supplied as a continuous sheet without factory welds in the rolls.
If the chosen product passes all checks for quality control, you are ready to begin preparing the construction site for installation.
Step 3: Subgrade Preparation in Construction
Subgrade preparation, an essential construction phase, forms the bedrock for the success of various projects, such as road construction, building foundations, and geomembrane installation. This process involves creating a stable, even, and load-bearing foundation to ensure effective load distribution, efficient water drainage, soil stability, and a smooth surface. Key aspects include clearing, excavation, compaction, grading, moisture control, and thorough testing and inspection to meet engineering standards. Subgrade preparation plays a pivotal role in enhancing the longevity and safety of structures, underlining its crucial importance in construction endeavors.
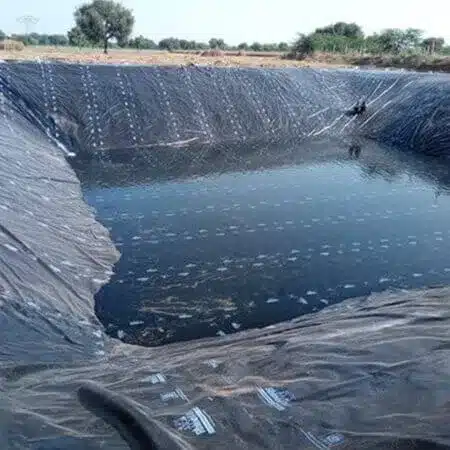
In road construction, subgrade preparation is vital to provide a stable base for pavement layers, averting deformities and extending the road’s lifespan. For building foundations, meticulous subgrade preparation is imperative to ensure structural stability and minimize settling issues. In geomembrane liner projects, a well-prepared subgrade is essential for achieving a smooth, uniform surface, mitigating the risk of damage or leaks. In essence, understanding and executing subgrade preparation with precision are foundational to the success of construction projects across diverse applications.
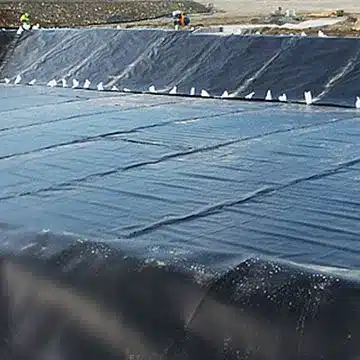
Step 4: Optimal Practices for Geomembrane Placement
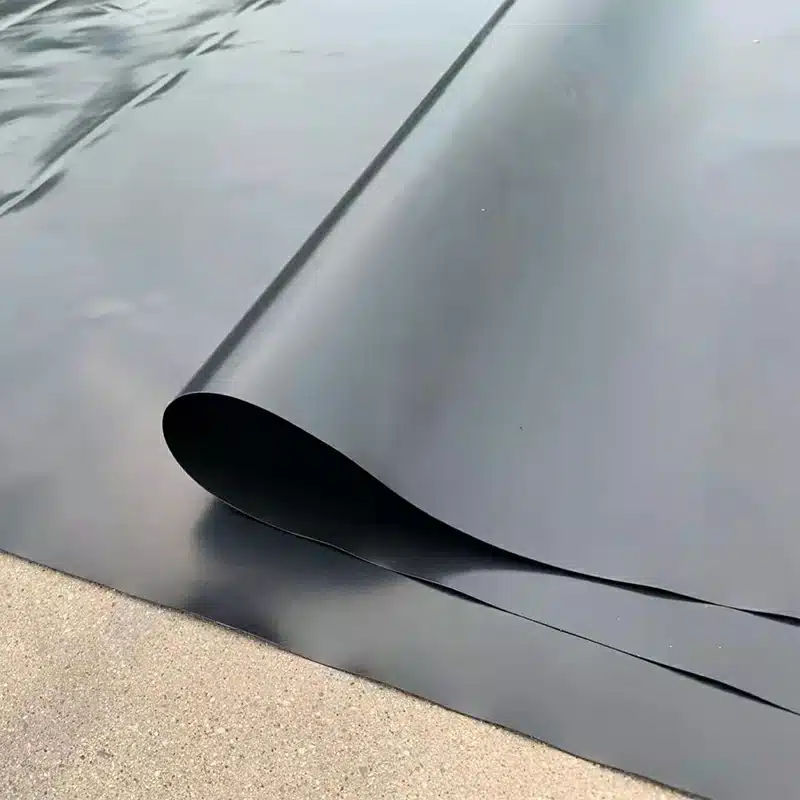
Once your geomembrane arrives and the subgrade is ready, it’s time to commence the installation process. Here are key tips for achieving the best results:
- 1. Control Geomembrane Quantity: Deploy only the quantity of geomembrane that can be anchored and welded on the same day. This practice minimizes unnecessary exposure of the liner.
- 2. Traffic Caution: Avoid vehicular traffic over exposed geomembrane. If necessary, utilize approved low-ground pressure vehicles or those capable of traversing test pads without damaging the liner.
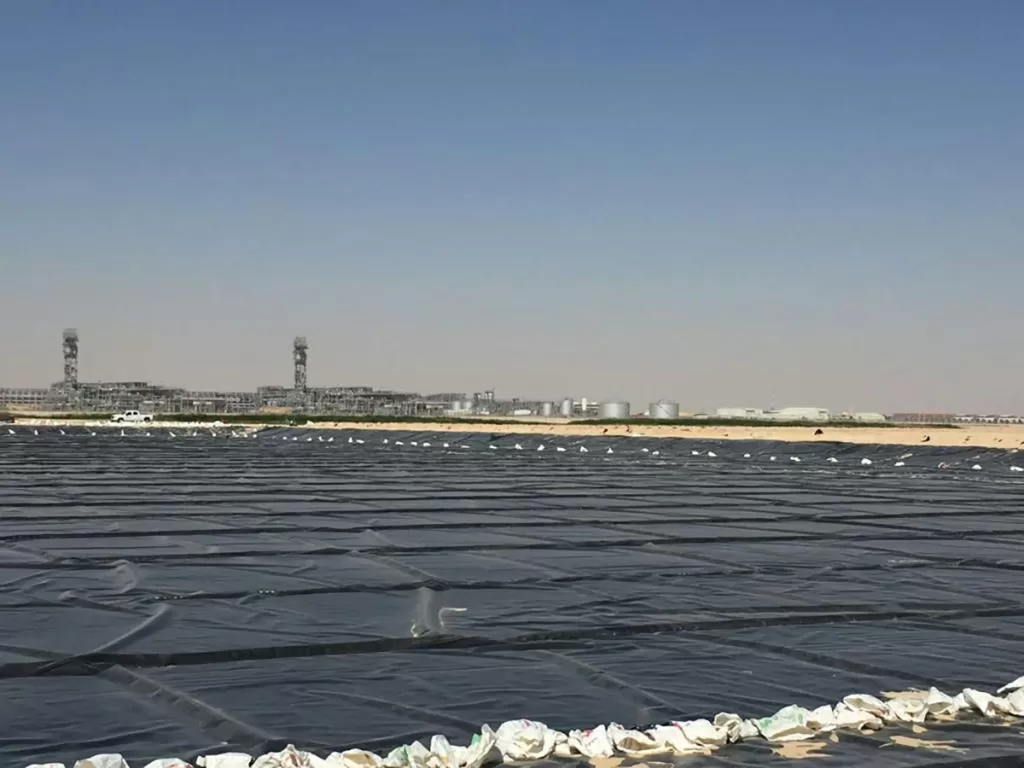
- 3. Secure Placement: Use sandbags or similar ballast to temporarily secure the geomembrane liner during installation.
- 4. Address Subgrade Irregularities: Be vigilant for areas where the liner might bridge over voids or low spots in the subgrade. Flatten these areas to ensure intimate contact between all liner sections and the subgrade.
- 5. Temperature Consideration: Install the geomembrane during optimal ambient temperatures to minimize thermal expansion and contraction, thus reducing waves and wrinkles (see our dedicated article on this topic).
- 6. Overlap for Welding: Verify that there is a minimum 3-inch overlap between geomembrane sections to facilitate welding and testing.
By adhering to these best practices, you can ensure a successful geomembrane installation process.
Step 5: Geomembrane Welding
After securely placing and anchoring all sections, it’s time to initiate the welding process to join the panels together. In most cases, welding should be carried out when the geomembrane’s surface temperature is above 0°C. While it’s possible to work under different conditions, it’s essential to implement additional safety measures and ensure proper welds. Fusion welding equipment is the preferred choice, but when needed, extrusion welding can also be employed.
Concurrently with welding, quality control tests should be performed to maintain the highest standards of workmanship.
Step 6: Geomembrane Installation Quality Control Procedures
Due to the significant impact of environmental conditions on weld quality, it’s advisable for welding technicians to conduct a test weld before each welding session. This test weld should adhere to ASTM D 6392 guidelines, using the same conditions, equipment, and materials as those employed during production. Subsequently, sections of the test weld should be cut and assessed against the minimum acceptable weld strength values.
Step 7: Testing Production Welds for Quality
Production welds should be tested upon completion using nondestructive methods before the geomembrane is covered. Any areas that fail these tests should be identified, repaired, and retested. Nondestructive testing methods can involve a vacuum box, air pressure, or spark testing equipment.
For additional assurance, it is recommended to perform destructive weld testing at intervals of 500 feet or as otherwise specified in GRI GM 14. If an independent weld test is necessary, it should adhere to ASTM 5820 or ASTM D6392 standards.
In conclusion, these installation guidelines for geomembrane liners offer a comprehensive roadmap for ensuring the successful installation of high-density polyethylene (HDPE) liners with a focus on precision and quality control. Following these guidelines is essential to achieving a reliable and effective geomembrane installation across various applications, contributing to the longevity and safety of construction projects.