
+86-159 9860 6917
info@geofantex.com
geofantex@gmail.com
+86-400-8266163-44899
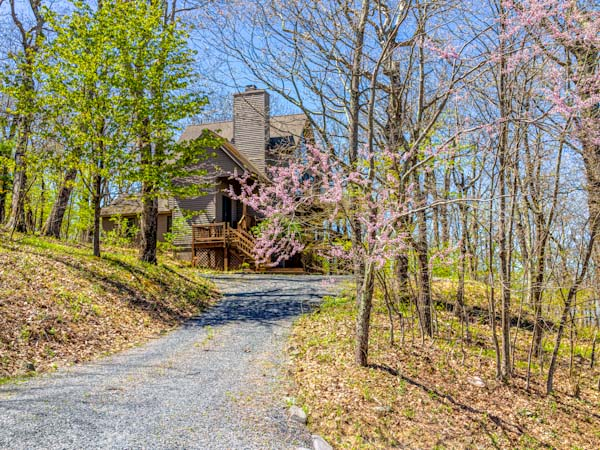
A gravel driveway is a budget-friendly option that requires minimal maintenance while offering a timeless, uniform appearance. Unlike other types of driveways, it’s also a project you can tackle yourself if you’re handy. However, without access to heavy equipment, this project can become challenging, making it worthwhile to consider hiring a reputable driveway company for assistance.
Planning Your Gravel Driveway
Here’s a detailed guide to help you successfully plan and construct a gravel driveway:
Materials and Tools Needed
- Materials:
- Gravel (base layer and top layer)
- Landscape fabric (optional but recommended for stability)
- Sand or small stone for the base
- Edge restraints (optional but useful for containment)
- Tools:
- Shovel
- Rake
- Tamper (manual or power tamper)
- Wheelbarrow
- Marking spray or stakes and string
Planning and Preparation
- Define the Layout: Measure the area for your driveway and mark it with stakes and string.
- Check Local Codes: Some areas may require permits or have guidelines on driveway width, drainage, or gravel types.
- Assess Drainage Needs: Plan for proper drainage by considering the slope of the driveway to avoid water accumulation.
Steps to Construct the Gravel Driveway
Clear and Excavate the Area
- Remove any grass, soil, or debris where the driveway will be placed.
- Excavate the area to a depth of about 6-8 inches to allow for the base and gravel layers. Step 2: Install Landscape Fabric (Optional)
- Lay down landscape fabric to prevent weed growth and improve stability. This can also help with drainage. Step 3: Add the Base Layer
- Spread a 3-4 inch layer of coarse gravel or sand across the excavated area. This acts as a base for stability.
- Use a tamper to compact the base layer thoroughly. Step 4: Add the Top Layer of Gravel
- Spread the top layer of gravel (crushed stone works well) evenly over the compacted base.
- Use a rake to distribute the gravel uniformly and smooth out any high spots.
- Compact the gravel using the tamper again for a firm surface. Step 5: Add Finishing Touches
- Install edge restraints if you wish to prevent the gravel from spreading.
- Water the surface lightly to help settle the gravel.
Maintenance Tips
- Regular Raking: Rake the surface periodically to keep the gravel even and fill any low spots.
- Add Gravel as Needed: Replenish the top layer occasionally to maintain an even surface.
- Check for Drainage Issues: Ensure water is draining correctly, as standing water can lead to ruts.
Following these steps will result in a durable, visually appealing gravel driveway with a long lifespan.
Choosing the Location
To help you select the perfect event location, here’s a structured list of considerations and some sample venues based on general criteria for event planning:
Key Factors to Consider
- Accessibility: Ensure the location is easy to reach, especially if guests are coming from different areas. Proximity to public transport or major highways is a plus.
- Ambiance and Theme Fit: The venue should reflect the event’s tone—formal, casual, creative, etc.
- Capacity and Comfort: Verify the venue can comfortably host your expected number of guests without crowding.
- Amenities: Check if the venue offers essentials like AV equipment, lighting options, kitchen facilities, or furniture.
- Budget: Confirm the cost aligns with your budget while offering all necessary amenities.
- Restrictions: Some venues may have policies on noise levels, event hours, or vendor limitations.
Suggested Locations and Brief Descriptions
Downtown Conference Center
- Pros: Centrally located, accessible by public transport, equipped with state-of-the-art AV technology.
- Cons: Limited parking, higher rental fees on weekends.
Garden Pavilion
- Pros: Beautiful outdoor setting, ideal for daytime and nature-themed events, large capacity.
- Cons: Weather-dependent, restricted use of amplified sound.
Historic Mansion
- Pros: Unique architecture and historical charm, great for formal events, provides a memorable ambiance.
- Cons: Limited capacity, may have strict vendor policies.
Rooftop Venue
- Pros: Stunning views, modern facilities, often flexible with event setups.
- Cons: Typically more expensive, weather-dependent for outdoor portions.
Community Hall
- Pros: Budget-friendly, often large spaces, flexible use of layout.
- Cons: May lack high-end amenities, less ambiance compared to other options.
If you provide more details about the event type or a specific location preference, I can refine this list further
Check Local Regulations
Check with your local city or county authorities to determine if you need a building permit or if there are any specific regulations or fees involved before starting construction.
Marking Out the Driveway
Once you’ve finalized the design, outline the driveway’s path using stakes or sticks placed every 8 to 10 feet along the length and 10 to 12 feet across the width. Connect these markers with string or twine to define the driveway’s edges clearly.
Calculating Costs
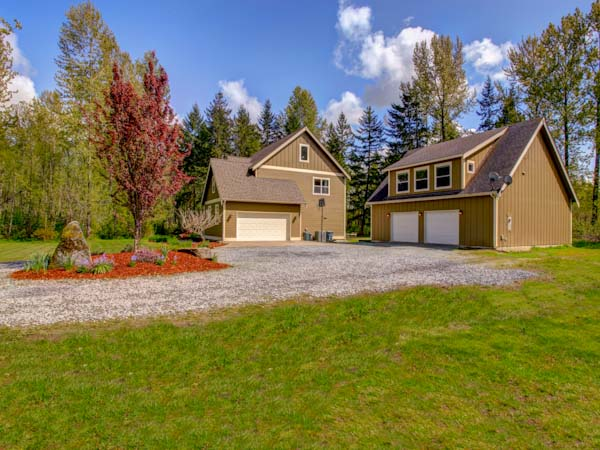
The cost of your driveway will vary based on its size and shape. A straight driveway is cost-effective, while wider or curved designs may require more gravel and additional time to build.
Clearing and Excavating
Prepare the site by clearing vegetation and excavating the marked area to a depth of 4 to 6 inches, using a shovel or backhoe for efficiency. For this step, consider hiring a local excavator if needed, as it can be physically demanding work.
Layering for Stability
For a stable foundation, layer the driveway with three types of gravel: a base layer of larger stones (1-3 inches), a middle layer of medium stones (2-3 inches), and a top layer of smaller gravel (1/8 inch to 2 inches).
Calculating Gravel Requirements
Calculate the amount of gravel needed for each layer based on the driveway’s dimensions and desired depth. Convert the depth from inches to feet for accurate calculations, then multiply the length, width, and depth to find the cubic yards of gravel required for each layer.
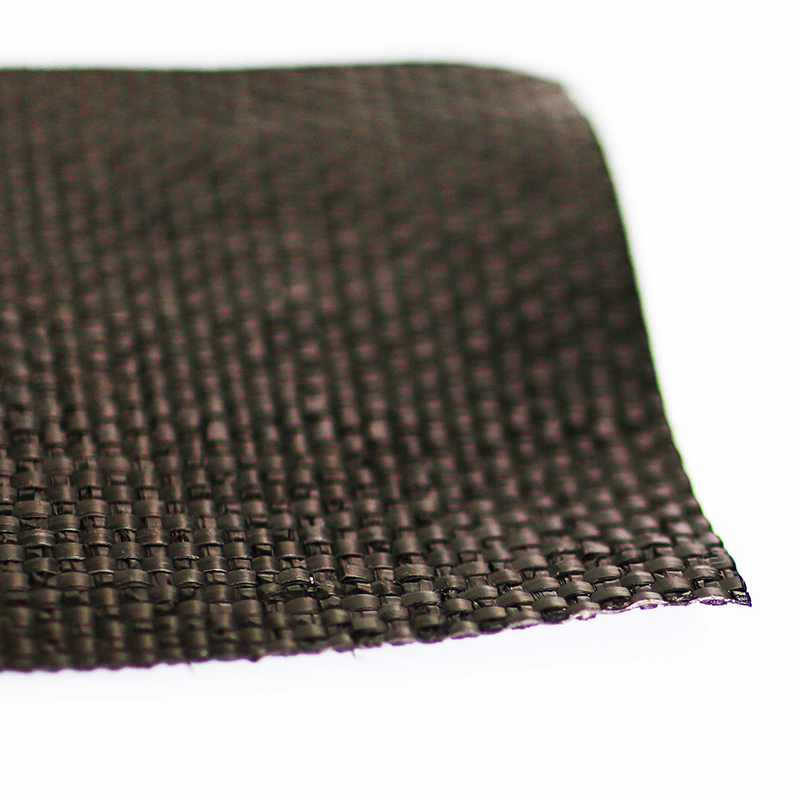
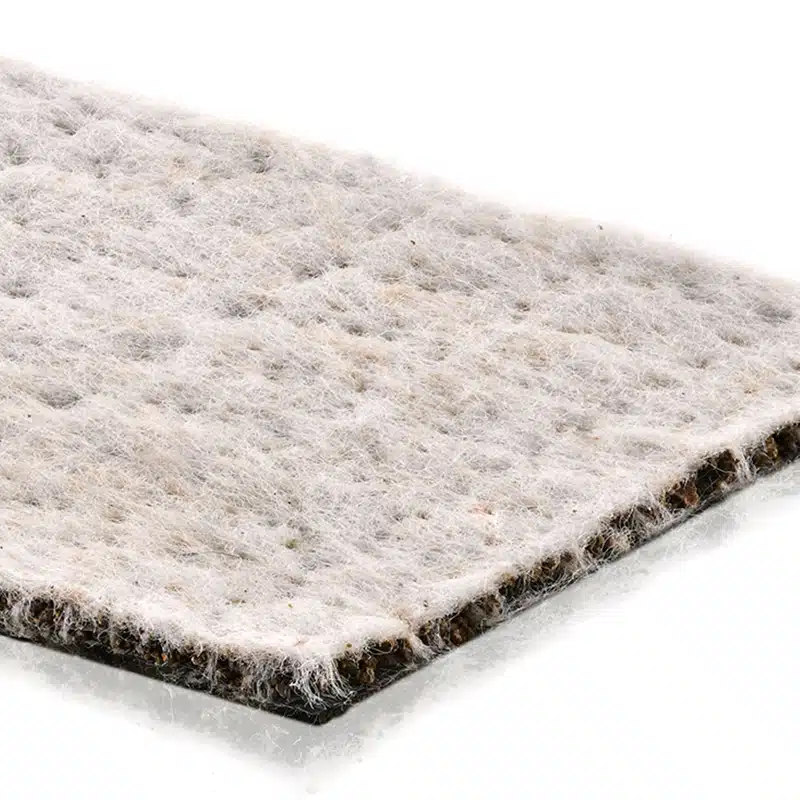
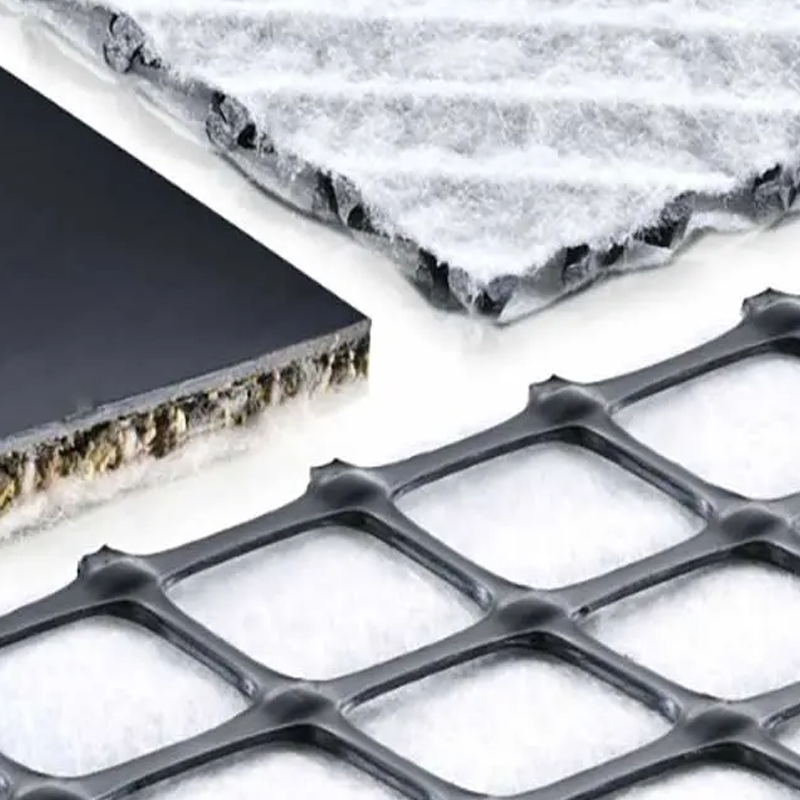
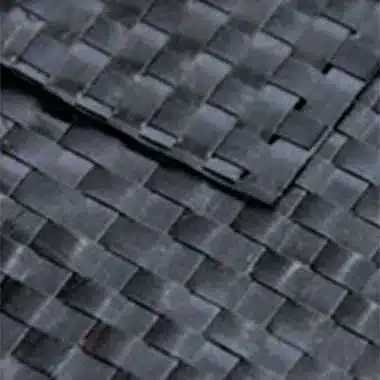
Consider Adding a Geotextile Layer
To enhance stability and reduce maintenance, consider installing a geotextile layer beneath the base gravel. This prevents soil mixing and improves long-term durability.
Scheduling Gravel Deliveries
Order gravel in separate deliveries for each layer, spaced 2 to 3 days apart. This allows time to spread and settle each layer properly. Some suppliers may offer spreading services or deliver gravel in manageable piles along the driveway for easier distribution.
Renting Equipment and Gathering Materials
Rent equipment like a tractor for spreading gravel or a mechanical compactor for compacting layers. Obtain necessary tools and materials, including a weed barrier and any border materials like bricks or timber, to complete the project efficiently.


Get Free Sample
We’ll respond as soon as possible(within 12 hours)