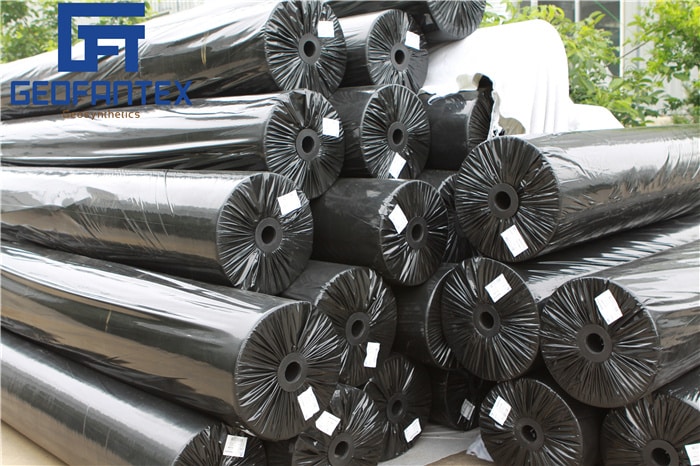
The surface should be smooth and clear of stumps, sharp objects, and debris that could harm the geogrid. Tree stumps need to be cut at ground level. Avoid disturbing any hard crust on the surface that covers weaker soils. In such cases, the geogrid should be installed directly on the unprepared subgrade.
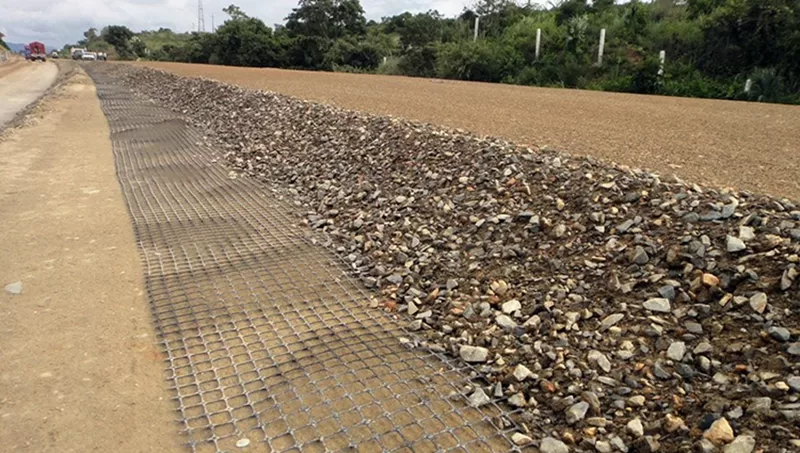
How Do You Install a Geogrid?
Proper geogrid installation is critical to ensure effective soil reinforcement, load distribution, and long-term structural performance. Follow these standard steps:
- Surface preparation: Ensure the subgrade surface is smooth and free of debris, sharp objects, roots, and vegetation that could damage the geogrid.
Cut tree stumps flush with ground level. - Subgrade leveling: Lightly level the surface to remove irregularities and soft spots.
Compact only as needed to create a firm, even base without weakening underlying soils. - Measurement and layout planning: Measure the installation area to determine the required amount of geogrid.
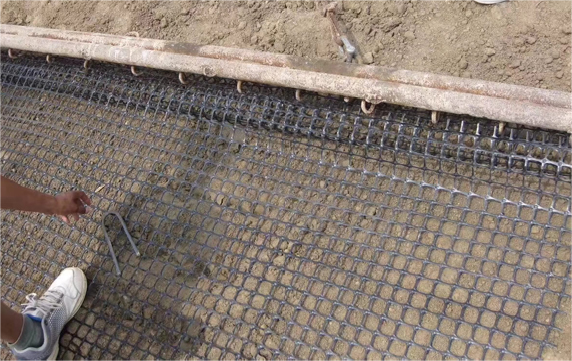
- Cutting and placement: Cut geogrid to size using scissors or a utility knife. Lay the geogrid flat and taut on the subgrade, ensuring proper alignment and avoiding wrinkles, folds, or slack areas.
- Overlap and alignment: Place overlaps in the direction of the primary load to maximize reinforcement efficiency. Secure overlaps as recommended by the geogrid manufacturer to prevent movement during infill.
- Infill placement: Place aggregate, sand, or approved fill material evenly over the geogrid.
- Final inspection: Confirm the geogrid is fully covered, evenly compacted, and well integrated with surrounding materials before installing the final surface layer.
Correct installation ensures full geogrid engagement, improved load transfer, reduced deformation, and long-term performance of the reinforced structure.
When Should Geogrid Be Installed?
Geogrid should be installed whenever soil or aggregate layers require additional strength, stability, and load distribution. It is most effective in conditions where natural soil performance alone is insufficient.
Common situations for geogrid installation include:
- Weak or soft subgrade soils: When soils have low bearing capacity, geogrids improve reinforcement and reduce settlement and deformation.
- Roads and highways: Used beneath base or subbase layers to limit rutting, improve load distribution, and extend pavement service life.
- Driveways and access roads: Provides structural support for light to moderate traffic areas, especially on poor subgrades.
- Retaining walls: Installed within backfill to reinforce soil and resist lateral earth pressures.
- Slopes and embankments: Enhances slope stability, controls erosion, and reduces the risk of sliding or failure.
- Pavement structures: Improves performance under heavy traffic loads and mitigates damage from freeze–thaw cycles.
- Railway tracks: Stabilizes ballast and sub-ballast layers, improving track alignment and long-term performance.
Geogrid should be installed whenever soil reinforcement is required to increase structural stability, distribute loads more effectively, and extend the lifespan of civil engineering and construction projects.
How Deep Should Geogrid Be Installed?
- Site preparation: Ensure the surface is smooth and free of debris, sharp objects, roots, and vegetation that could damage the geogrid. Tree stumps should be cut flush with ground level. If a hard crust exists over weak subgrade soil, do not disturb it; install the geogrid directly on the unprepared subgrade to preserve bearing capacity.
- Subgrade leveling: Lightly level the subgrade to eliminate irregularities and soft spots. Compact only as necessary to create a firm, even base while avoiding disturbance of underlying weak soils to maintain overall stability.
- Measurement and layout planning: Measure the installation area to determine the required quantity of geogrid. Plan the layout in advance, allowing for 12–24 inches (300–600 mm) of overlap between adjacent sheets to ensure continuous reinforcement and structural integrity.
- Cutting and placement: Cut the geogrid to the required dimensions using scissors or a utility knife. Place it flat and taut on the prepared surface, ensuring proper alignment and avoiding wrinkles, folds, or slack that could reduce reinforcement effectiveness.
- Overlap and alignment: Position overlaps in the direction of the primary applied load to maximize load transfer efficiency. Secure overlaps according to manufacturer recommendations to prevent displacement during infill placement and compaction.
- Infill placement: Place aggregate, sand, or approved backfill material evenly over the geogrid. Do not allow construction equipment or vehicles to operate directly on exposed geogrid. Spread infill in controlled layers and compact progressively to achieve full soil–geogrid interlock.
- Final inspection: Confirm that the geogrid is fully covered, uniformly compacted, and properly integrated with surrounding materials before installing the final surface or pavement layer.
Following these steps ensures effective geogrid engagement, improved load distribution, reduced deformation, and long-term structural performance of the reinforced system.
What Type of Fill Material Should Be Used Over Geogrid?
- Site preparation: Ensure the surface is smooth and free of debris, sharp objects, roots, and vegetation that could damage the geogrid. Tree stumps should be cut flush with ground level. If a hard crust exists over weak subgrade soil, do not disturb it—install the geogrid directly on the unprepared subgrade to preserve bearing capacity.
- Subgrade leveling: Lightly level and compact the soil to create a firm, even base. Remove soft spots and correct uneven areas to ensure uniform load transfer across the reinforced layer.
- Measurement and layout planning: Measure the installation area to determine the required amount of geogrid. Plan the layout in advance, allowing for 12–24 inches (300–600 mm) of overlap between adjacent sheets to maintain structural continuity and reinforcement effectiveness.
- Cutting and placement: Cut the geogrid to size using scissors or a utility knife. Lay it flat on the prepared surface, keeping the grid taut and properly aligned to prevent wrinkles, folds, or slack areas.
- Overlap and alignment: Orient and place overlaps in the direction of the applied load to maximize reinforcement efficiency. Secure overlaps according to manufacturer recommendations to prevent movement during infill placement.
- Infill placement: Place aggregate, sand, or approved soil evenly over the geogrid. Do not allow vehicles or equipment to travel directly on exposed geogrid. Spread infill in layers and compact progressively to ensure full interlock and engagement of the geogrid.
- Final inspection: Verify that the geogrid is completely covered, evenly compacted, and properly integrated with surrounding materials before installing the final surface layer.
Following these steps ensures effective geogrid engagement, improved load distribution, and long-term performance of the reinforced structure.
It’s essential to follow engineering specifications and manufacturer guidelines for precise installation depths based on the specific geogrid product and project requirements.

Get Free Sample
We’ll respond as soon as possible(within 12 hours)

