
+86-159 9860 6917
info@geofantex.com
geofantex@gmail.com
+86-400-8266163-44899
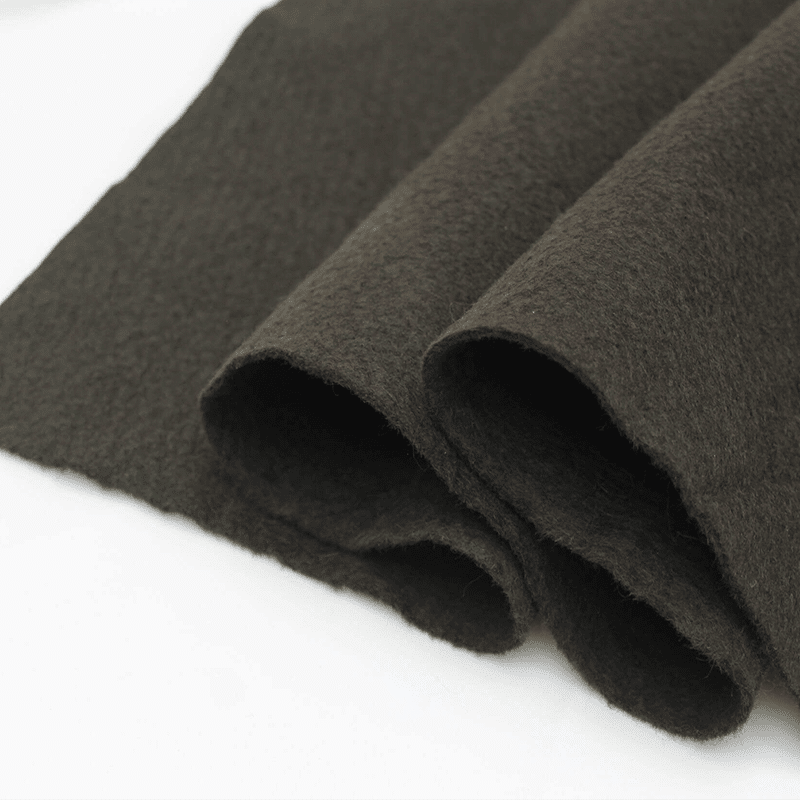
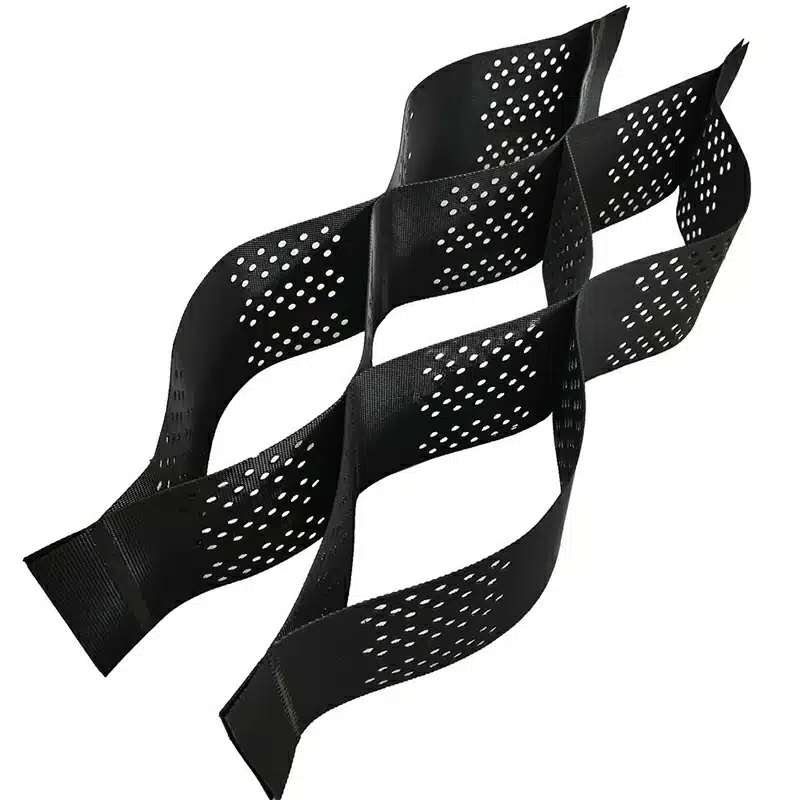
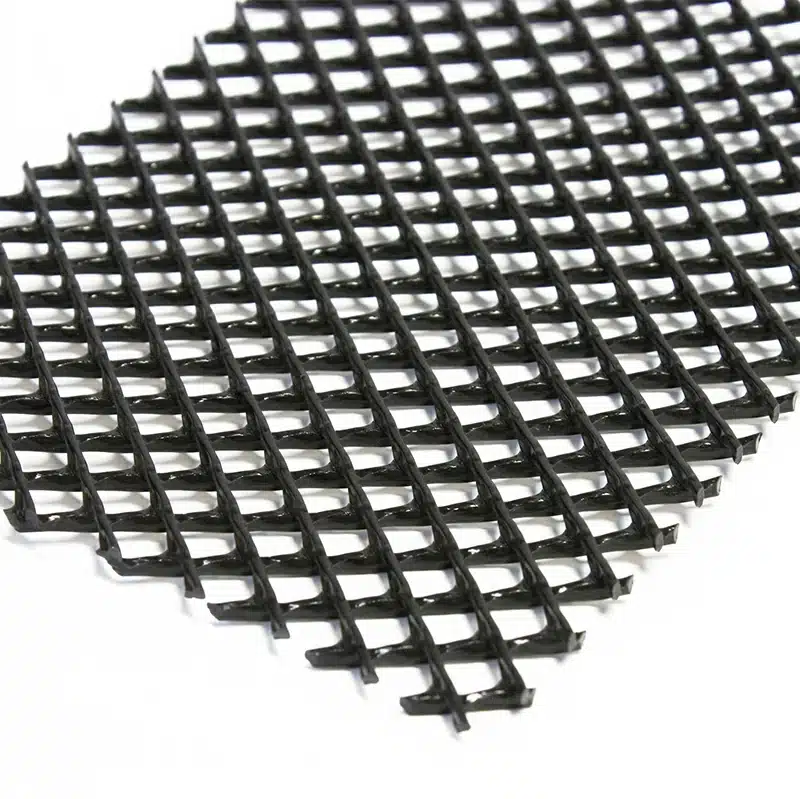
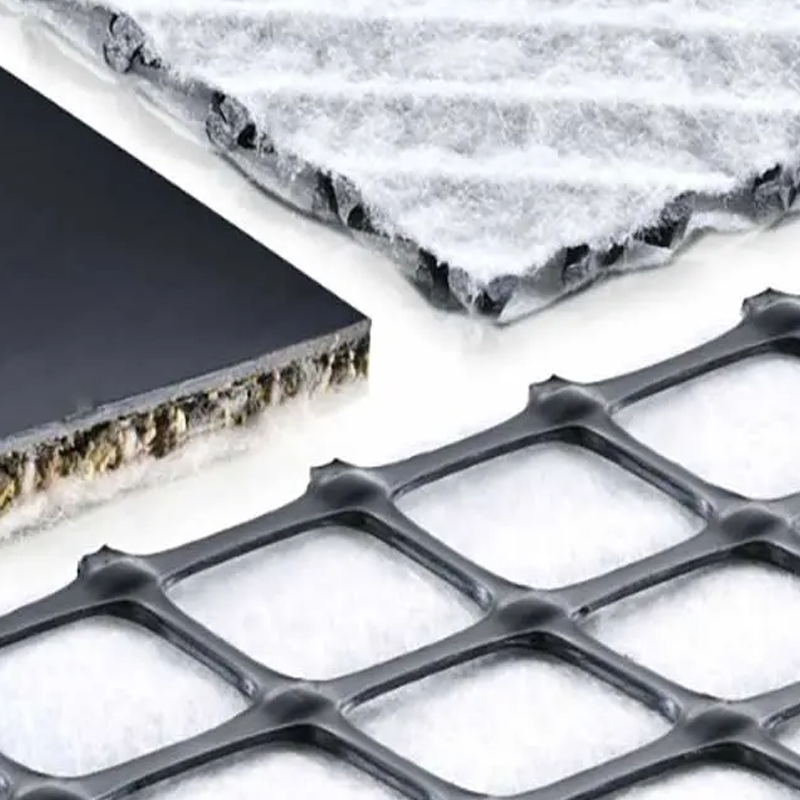
In this new post we will discuss one of the most effective systems to ensure gravel and slope stabilisation: geogrids. At Tex Delta we are manufactures of the DLT GC-6 geogrid, a honeycomb shaped 3D mesh comprising joined, non woven geotextile fabric strips. Thanks to its features, the geogrid will not lose its shape, sink or leave tread marks.
As shown in the image below, by applying the geogrid we will prevent sinking and, in addition to avoiding material to sink, it will not lose its shape or leave vehicle tread marks, thanks to its joints and the geotextile fabric, providing high tensile strength.

Below are some the most significant advantages of using the geogrids:
- It allows for vertical and horizontal water drainage thanks to the geotextile’s granular infill and wall porosity.
- Easy to install as it is supplied in an accordion-folded manner.
- May be filled with either gravel or sand.
- May be used in constructions intended for pedestrian or road pavements.
- Eco friendly drainage system.
- Easy to cut material.
Multiple Applications
* Vehicle parking areas.
- Walking paths and pavement stabilisation.
- Landscaped, gravel covered areas.
- Sport areas and fields stabilisation.
- Golf courses.
- Garden path stabilisation.
- Garage entrances.
- Slope stabilisation.
- Walking paths and pavement stabilisation.
- Seed support in sloping grounds.
- Ideal for urban drainage: Our mesh is a long term alternative to evacuate surface and rain water.
Please bear in mind the following aspects when preparing the geogrids:
Please bear in mind the width of the sub grade, which shall depend on the expected levels of circulation.
In order to obtain a highly resistant performance, remove the soil to a depth of 7 to 8 cm for 5cm high mesh or 2 to 3 cm for 10 cm high mesh.
In general terms, use aggregate for the bedding below the mesh and extend the geotextile between the bedding and the sub-grade layer.
It will stabilise and strengthen it by compacting the material.
Level out the ground and remove all stones in cases where the sub-grade is stabilised enough to allow the passage of vehicles
For a correct installation, please follow these steps
- Extend a length of mesh and fix the corners with a stake or U shaped nail.
- Expand the mesh lengthwise for about 8m. You will see how the width decreases on the sides.
- Mesh can adapt easily to any area by cutting it with scissors or a cutter knife.
- Extend a second layer of mesh if required and staple it to the first layer in between the cell joints and so on, until covering the required space.
Below are our recommendations when filling the geogrids
- It can be filled in either manually or by using a machine.
- Fill in each corner with aggregate first to keep the mesh in place. It must remain at all times in contact with the ground.
- Only use regular gravel to fill in the mesh. Never use washed pea gravel.
- Never walk on an unfilled mesh.
- Do not remove the bars or stakes until the corners have been filled in.
- Carefully fill in all cells and, when already completed, spread a layer on top ensuring that it is properly covered with gravel.
- Now it will be ready to walk on but it must still be checked and retouched if needed to ensure that the whole area is properly covered with the required load height.
Please bear in mind the following as a general rule when using the DLT GC-6 geogrid
- Check the ground quality.
- Staple the different mesh layers if it was required to install several layers before filling in.
- Fix the mesh with stakes in sloping grounds.
- Mesh must always be in contact with the ground.
- Make sure that there is no gravel underneath when filling in to avoid raising the mesh.
- Always use the adequate type of gravel.
- Always place a minimum of load on top of the mesh.
For further information or prices for our Texdelta’s three dimensional mesh DLT -CG6 by Tex Delta do not hesitate to contact us at info@texdelta.com
Get Free Sample
We’ll respond as soon as possible(within 12 hours)