

+86-159 9860 6917
info@geofantex.com
geofantex@gmail.com
+86-400-8266163-44899
Embarking on a geogrid installation project? Understanding how to install geogrid properly is pivotal for ensuring long-lasting structural stability. Start by preparing the soil, ensuring it is well-compacted and free from debris. Lay the geogrid evenly, following the manufacturer’s guidelines for overlap and connection. Whether it’s for retaining walls, slopes, or other soil reinforcement needs, anchoring the geogrid with small piles of aggregate fill or a washer and pin is key. Don’t forget the critical timing element – for walls taller than three to four feet, early installation during the construction phase is crucial. This comprehensive guide covers the step-by-step process, providing valuable insights for a successful geogrid installation that stands the test of time.
How is Geogrid installed?
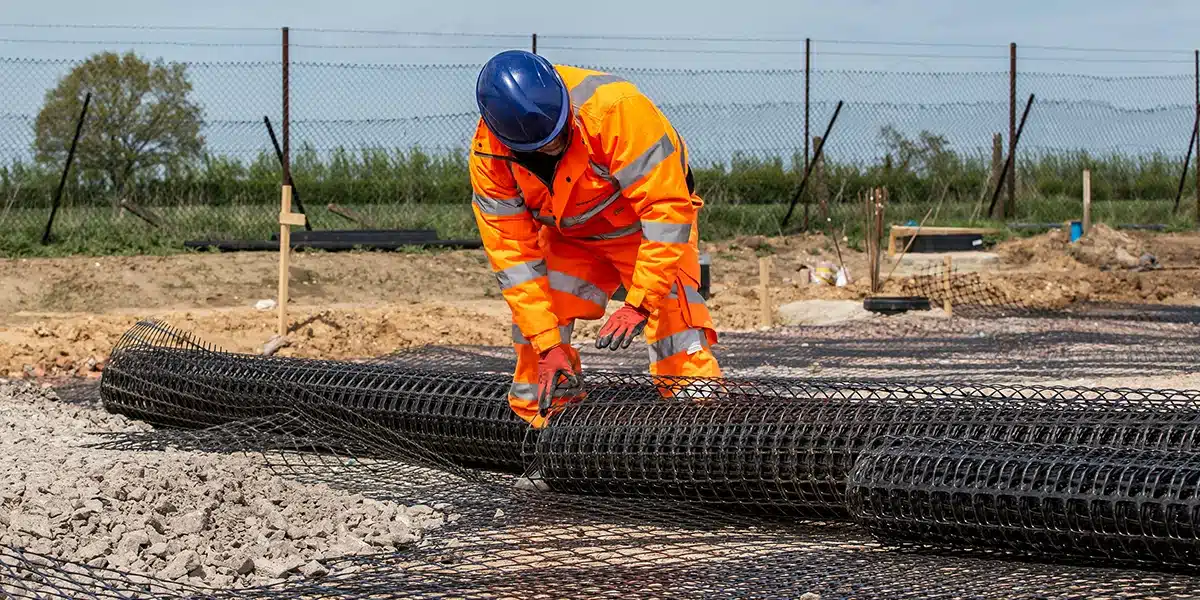
Geogrid installation is a meticulous process that plays a pivotal role in fortifying soil structures and ensuring the longevity of construction projects. The installation procedure involves several key steps:
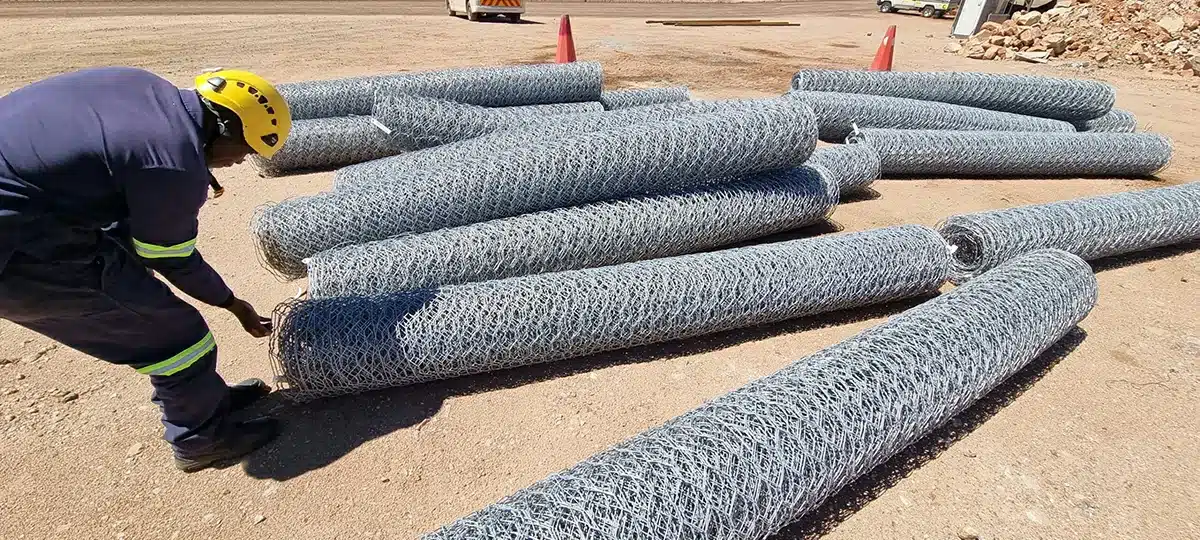
- Excavation: Excavate the designated area to the required depth. The excavation depth is contingent on the project specifications and the intended purpose of the geogrid. After excavation, roll out the geogrid and allow it to follow the natural contours of the ground. Ensure that the base is even and well-compacted.
- Foundation Preparation: Once the excavation is complete, prepare the foundation by compacting the soil thoroughly. A stable foundation is crucial for the effectiveness of the geogrid in distributing loads and preventing soil displacement.
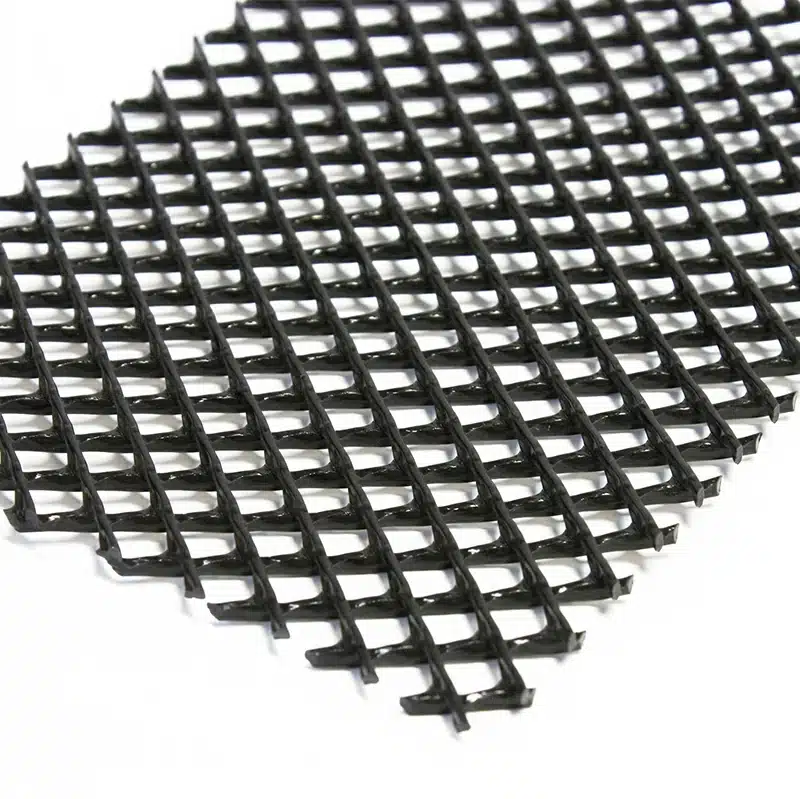
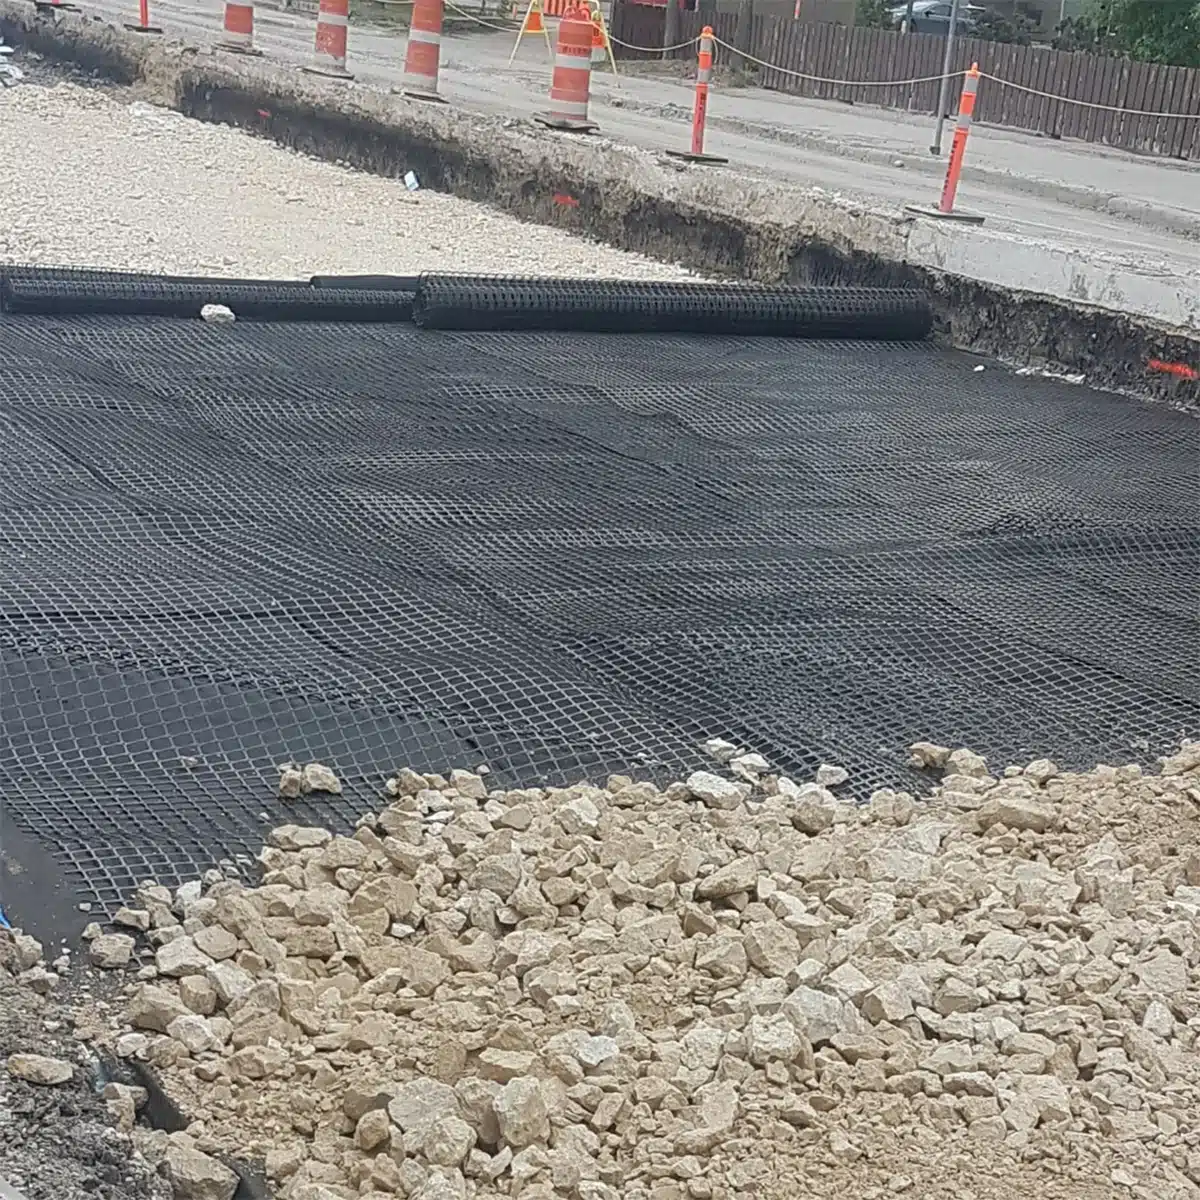
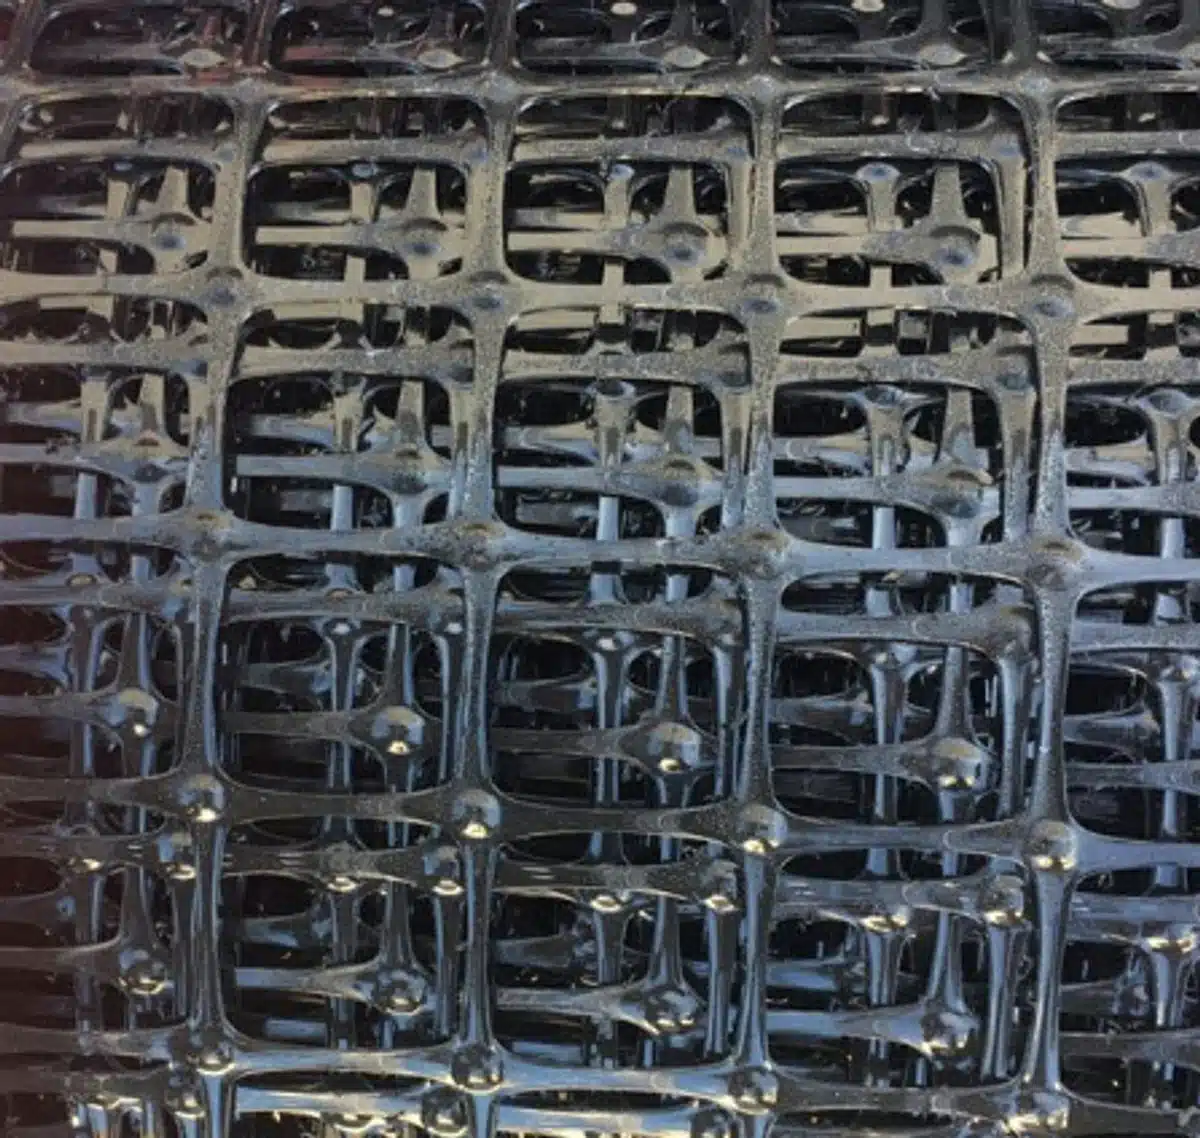
- Geogrid Placement: Roll out the geogrid material in accordance with the project specifications. Geogrid sheets should be positioned with proper overlap and alignment. The choice of geogrid type and the grid opening size depends on the specific engineering requirements of the project.
- Connection and Overlapping: Properly connect and overlap adjacent geogrid sheets. This step is vital for creating a continuous and reinforced grid. Secure connections ensure that the geogrid functions as a unified system, distributing loads evenly across the reinforced soil.
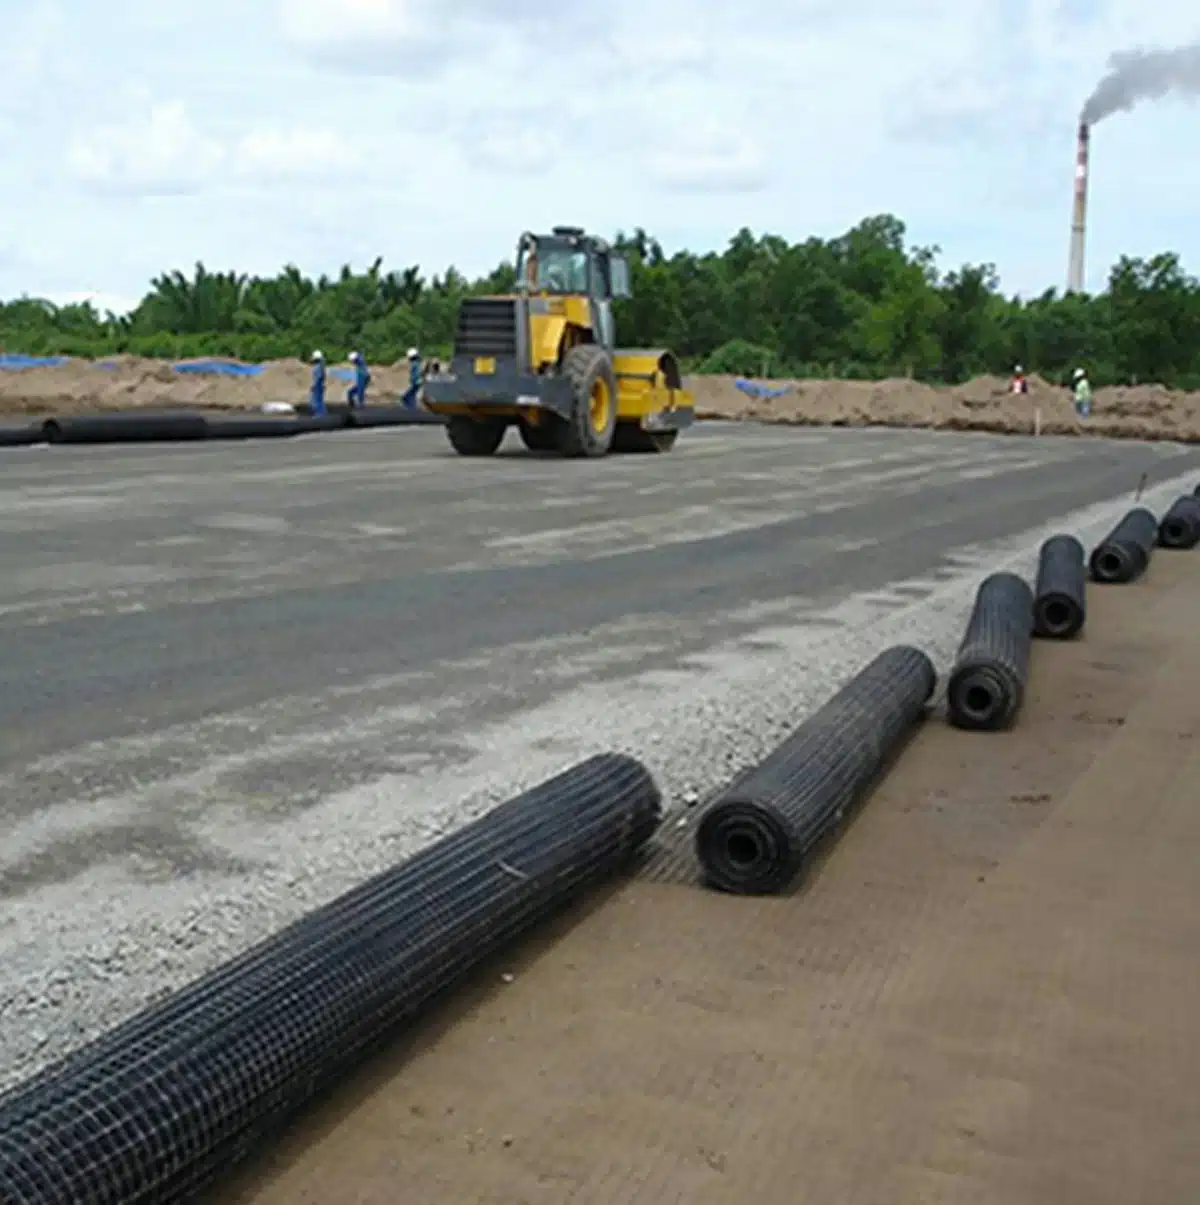
- Backfilling: Once the geogrid is in place, carefully backfill the excavated area with the specified material. Roll out the backfill material in thin, even layers to prevent voids and ensure proper compaction. Adequate compaction is crucial for the stability of the entire structure.
- Compaction: After backfilling each layer, use compaction equipment to compact the soil and geogrid structure. Proper compaction is essential to achieve the desired load-bearing capacity and stability. Follow project specifications and engineering guidelines for compaction requirements.
- Surface Finishing: Complete the installation by ensuring a smooth and even surface finish. This step is particularly important for projects where the aesthetics of the surface are essential, such as landscaping or paved areas.
How do you anchor a geogrid?
Ensuring the stability and effectiveness of geogrid is crucial, and anchoring plays a pivotal role in achieving this goal. There are two main methods commonly utilized for this purpose: soil anchoring and mechanical anchoring. Soil anchoring entails embedding the geogrid into the soil, allowing it to interlock with particles for added stability. Conversely, mechanical anchoring involves using stakes or anchors to secure the geogrid in place. Depending on variables such as soil type, project specifications, and environmental conditions, either method may be chosen. A recommended approach is to anchor the geogrid with small piles of aggregate fill or a washer and pin, providing an additional layer of stability to the installation.
What is the rule of thumb for Geogrid?
When installing geogrid, a critical rule of thumb is to ensure a proper connection and overlap between adjacent sheets. This connectivity is essential to maximize load distribution and effectively reinforce the soil. It is crucial to adhere to the manufacturer’s guidelines not only for installation depths, layering, and compaction but also for ensuring a minimum geogrid length of 60% of the wall height. By following these recommendations, you guarantee that the geogrid functions optimally, providing the desired structural support.
When should I install Geogrid?
Timing is critical for geogrid installation, especially for walls taller than three to four feet. Ideally, geogrid should be installed during the initial construction phase, before substantial loads are applied to the soil. This early installation ensures immediate stabilization and prevents soil movement during construction. However, for retrofitting existing structures, geogrid can still be applied effectively to enhance stability and address potential issues.
In conclusion, mastering geogrid installation involves understanding the sequential steps, proper anchoring techniques, adherence to rules of thumb, and strategic timing. By following these guidelines, construction professionals can ensure the successful incorporation of geogrid into their projects, enhancing the overall durability and stability of various structures.
Get Free Sample
We’ll respond as soon as possible(within 12 hours)