
+86-159 9860 6917
info@geofantex.com
geofantex@gmail.com
+86-400-8266163-44899
How to Build a Proper Retaining Wall with Geogrid Fabric (Stabilizing Grid)
Retaining walls is crucial for protecting landscapes from natural elements. It is essential to construct them correctly using proper materials to ensure long-term stability. If corners are cut and a stabilizing grid is not used, the wall can lose stability and fall, endangering people and damaging the landscape. When hiring professionals, always check their experience in this area of construction.
Common Causes of Retaining Wall Failure
One of the most common reasons for retaining wall failure is inadequate drainage behind the wall. Poor drainage can cause moisture to circulate, freeze, and thaw, which can happen daily during colder seasons. Some northern states experience this more often during spring and fall. For example, with clay backfill, freezing occurs in the evenings, and as the ice melts, it penetrates deeper into the surrounding area, pushing outward.
Another reason is when walls are forced to hold back more soil than they can handle. While this is often caused by novices who do not know how to properly construct a retaining wall, even experienced landscapers have made similar mistakes.
If a retaining wall is built too high without proper reinforcement, it cannot handle the force. Customers spend thousands of dollars on these retaining walls, only to spend thousands more to tear them down and start over. Searching online about failing retaining walls reveals just how disastrous the outcome can be.
Constructing a Good Retaining Wall
Building a retaining wall is straightforward, and the necessary materials are not overly expensive. The process requires additional digging, backfilling, and compacting. Although this takes more time, it is inexpensive compared to the cost of rebuilding a failed wall.
Unfortunately, many people try to save time and money, unaware of the importance of stabilizing the grid or when it is needed. They often hire contractors who do not understand how a retaining wall operates or when a stabilizing grid is necessary. The savings are lost when the wall fails, and they have to start over.
What is a Retaining Wall Reinforcement Grid?
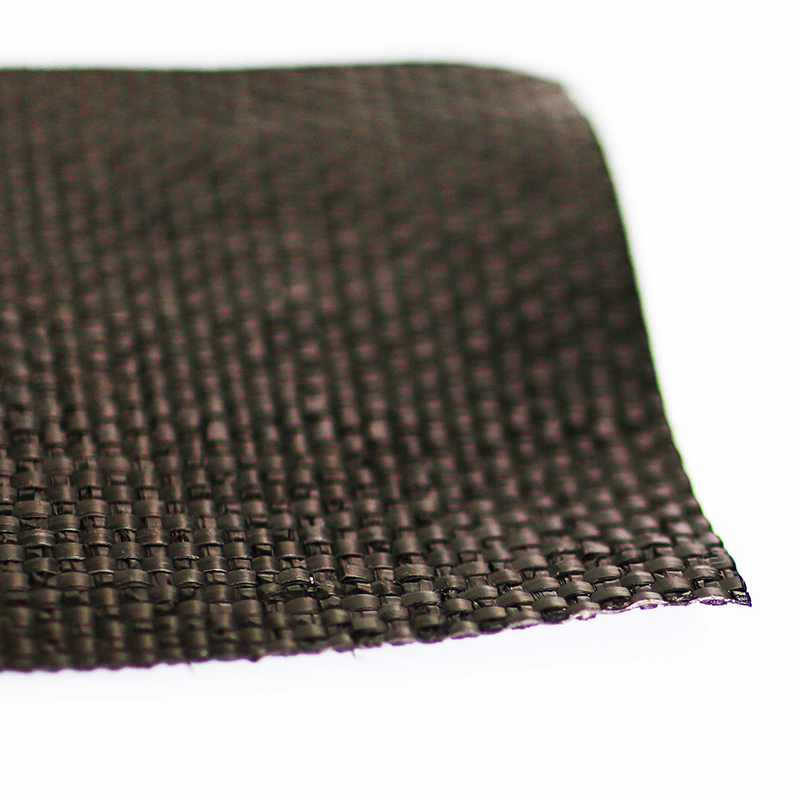
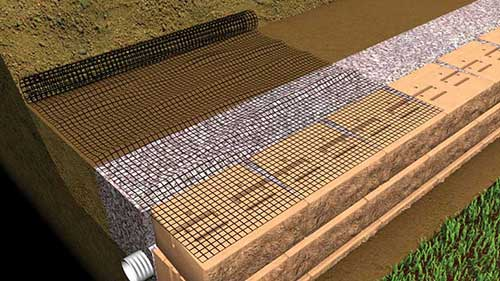
The retaining wall reinforcement grid (stabilizing grid) from SRW is a woven fabric with high tensile strength, pinned between layers of the retaining wall. It extends into the soil being retained and locks the block or stone wall with the soil behind.
When is Stabilizing Grid Needed?
Determining whether a stabilizing grid is needed depends on the wall-building material and the type of soil to be retained. Clay soils swell when moist and retain water, making them the hardest to retain. For clay soil, a stabilizing grid is highly recommended.
The material used for a retaining wall also matters; the more massive the material, the less stabilizing grid is needed. For example, with six-inch or eight-inch wide split-face limestone walls, a stabilizing grid should be considered if the exposed height is over 24 inches.
A stabilizing grid is most desirable for man-made walls with a height of 36 to 48 inches, depending on the design and size. If there is a slope at the base of the wall, a stabilizing grid should be considered.
For walls over 6 feet in height, constructed with 24-inch or wider limestone or similar blocks, a stabilizing grid should be used.
Steps to Building the Retaining Wall
Step One: Excavation
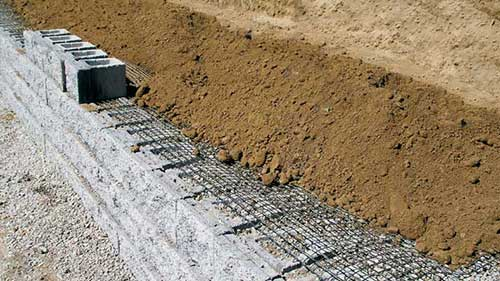
Excavate the soil area for reinforcement. Remove all existing soils to maximize the embedment length for the stabilizing grid. Ensure a good level soil condition behind the wall units to place each stabilizing grid layer.
- Step Two: Cutting the Geogrid: Cut the stabilizing landscape geogrid (rated for retaining walls) in sections from the roll to a specific length (the embedment depth). Roll the stabilizing grid from the wall toward the embankment. Always check the manufacturer’s specification for biaxial or uniaxial stabilizing grid. Usually, the stabilizing grid is rolled perpendicular to the face of the wall.
- Step Three: Hooking the Grid: Hook the stabilizing grid over the Keystone pins to ensure a positive connection between the unit and the stabilizing grid. Ensure the stabilizing grid is placed within one inch of the wall’s face.
- Step Four: Securing the Grid: Secure the stabilizing grid by pulling it taut to eliminate loose folds. Stake the back edge of the grid before and during the backfilling and compaction. If desired, remove the stakes after the backfill is in place. Place additional sections of grid, abutting each other, for continuous coverage for each layer.
- Step Five: Backfilling: Place backfill over the grid in 8-inch lifts. Provide a minimum of 6 inches of reinforcement fill cover before driving any equipment over the grid. Avoid driving or turning vehicles directly over the grid to prevent damage.
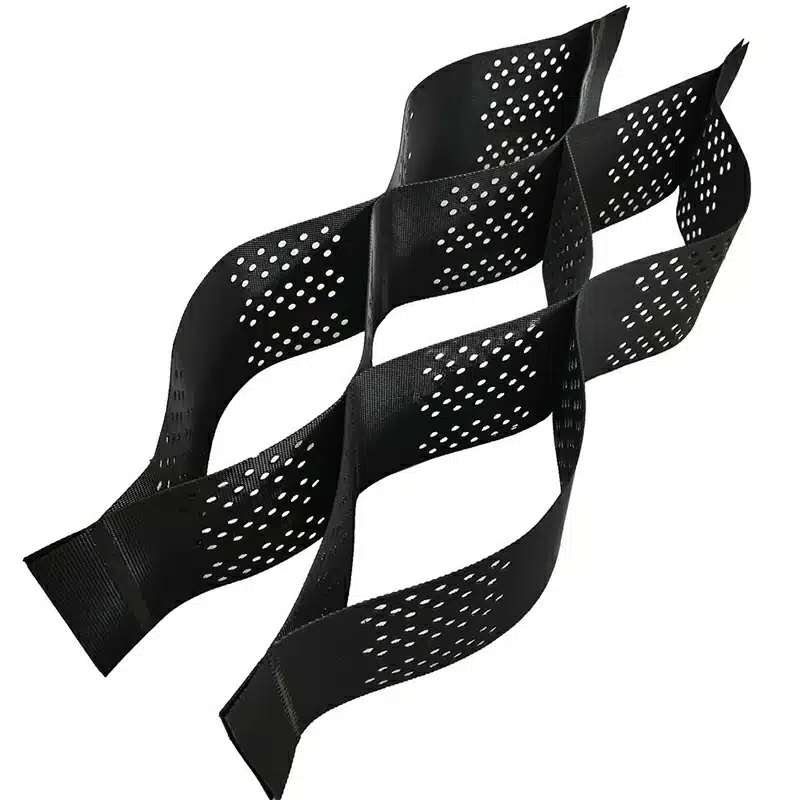
Uniaxial Geogrid: Characteristics and Uses
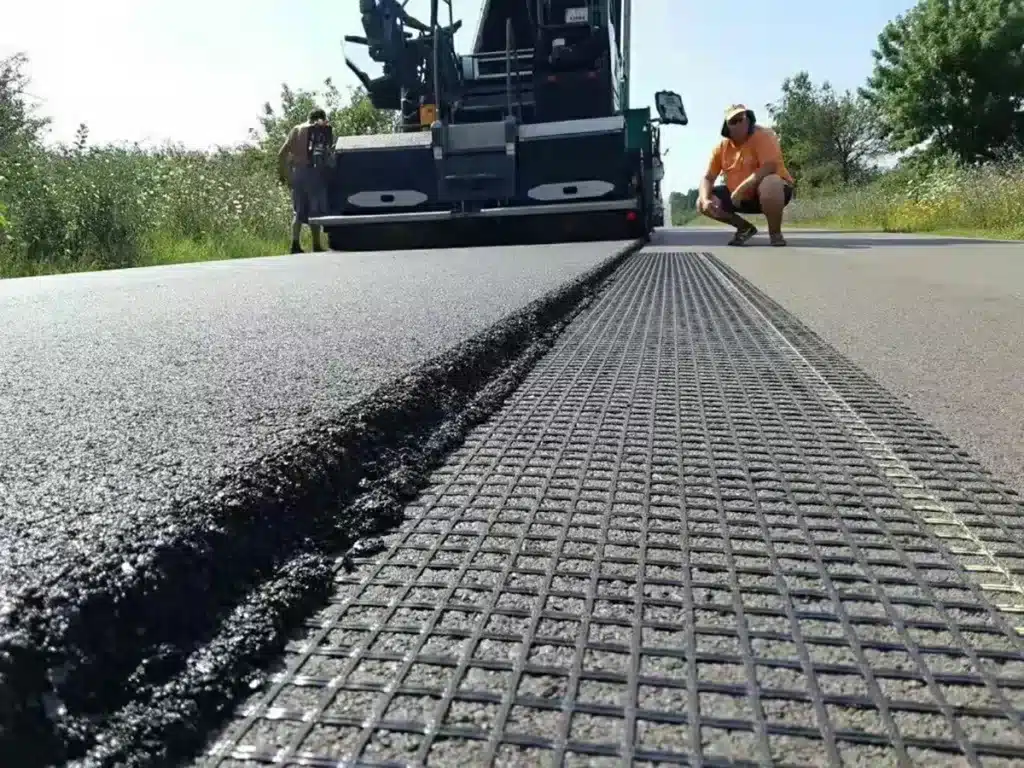
Uniaxial geogrid is used in many structural building applications, such as reinforcing paved roads or supporting retaining walls. It is a lattice grid fabric made of high-strength composites or plastics like high-density polyethylene or polypropylene. Uniaxial geogrid is stretched along the longitudinal direction, transferring stress only along this axis and giving it a rectangular shape.
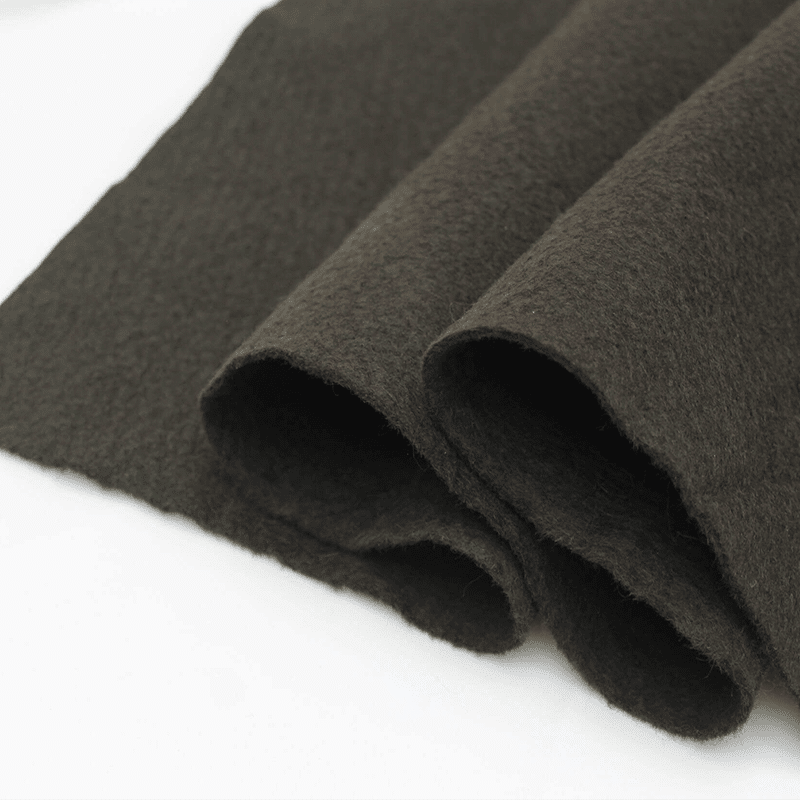
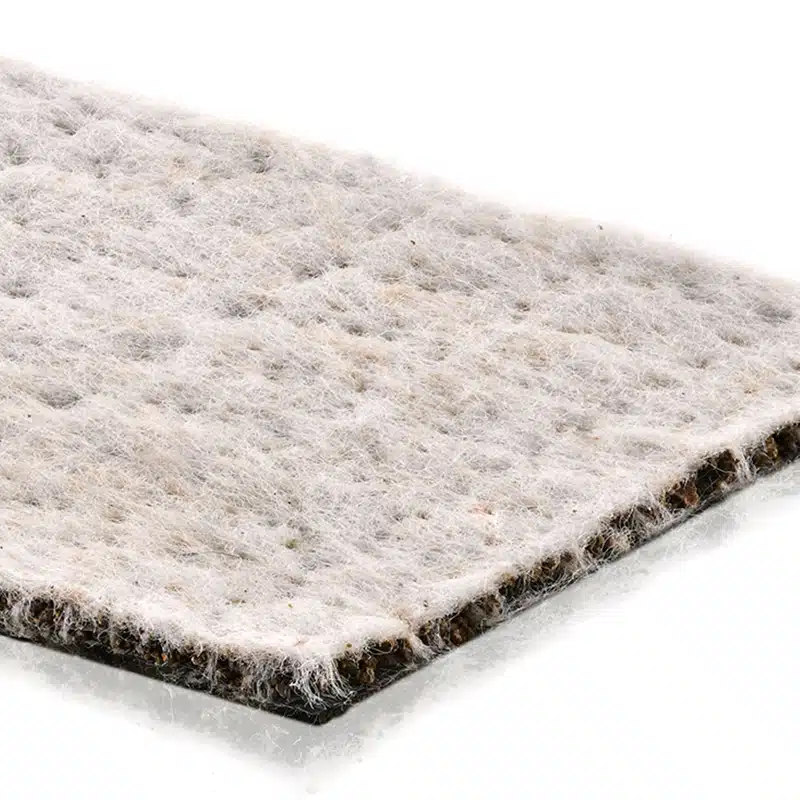
Geogrids are different from geotextiles, which can be non-woven fabrics (needle-punched or spun bond) or woven fabrics made from plastic fibers.
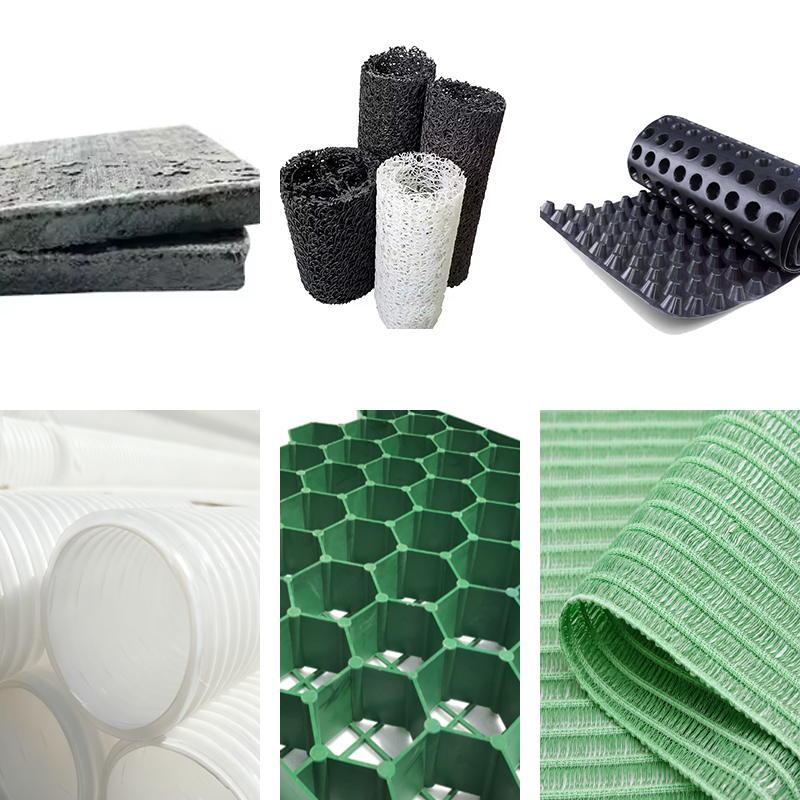
Applications of Geogrid
Geogrids are used in various places, such as:
- Steep walls, hillsides, retaining walls, and other vertical soil areas to prevent erosion.
- Railroads support the earth beneath and prevent derailment.
- Roads as an asphalt overlay to distribute weight and prevent dips.
- Utility company sites after tree removal to stabilize the ground.
Advantages of Using Geogrid Mesh
Geogrid mesh offers several advantages:
- Cost-effective compared to concrete retaining walls.
- Reduces project completion time.
- Enhances land use by supporting steep hills.
- Flexible design molds to uneven ground.
- Provides stability during earthquakes.
- Prevents soil loosening and damage.
- Allows grass to grow, maintaining an aesthetic landscape.
Different Geogrid Patterns and Manufacturing Methods
Geogrids come in three main patterns:
- Uniaxial Geogrid: Stretched along the longitudinal direction, providing higher strength in one direction.
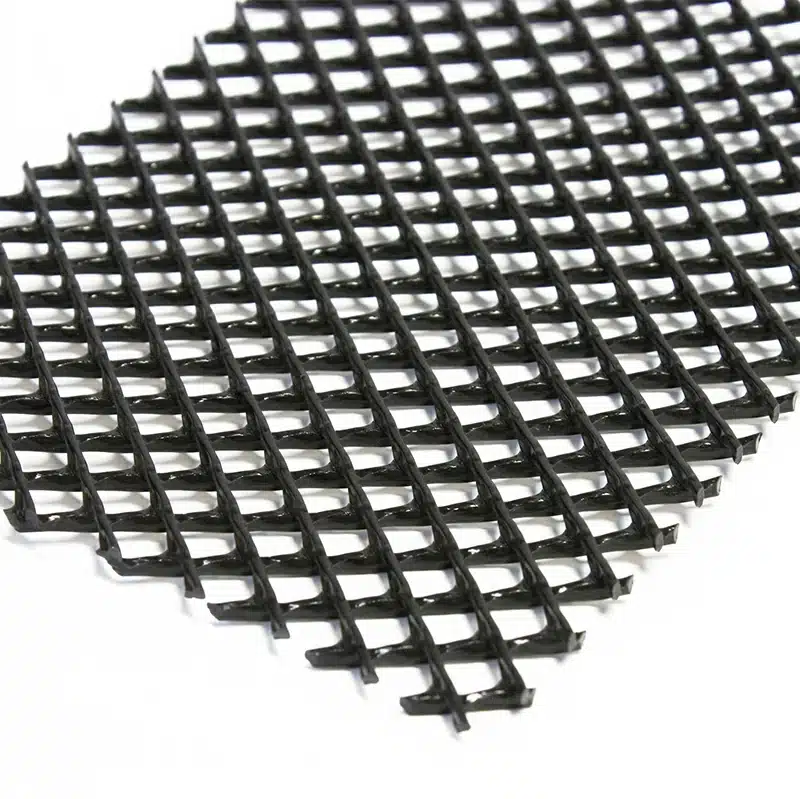
- Biaxial Geogrid: Stretched in both longitudinal and transverse directions, offering equal strength in both directions.
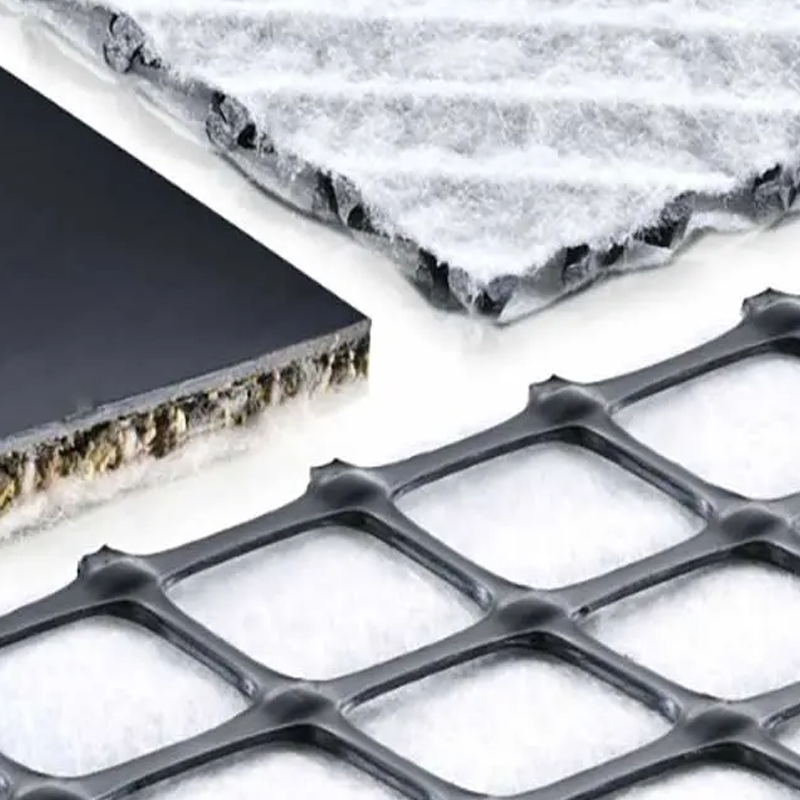
- Triaxial Geogrid: Stretched in all directions, resembling a diamond or triangle pattern.
Geogrids are manufactured in three ways:
- Woven Geogrid: Made from tightly woven polyester material with a protective polymer coating.
- Bonded Geogrid: Made by bonding strands at right angles.
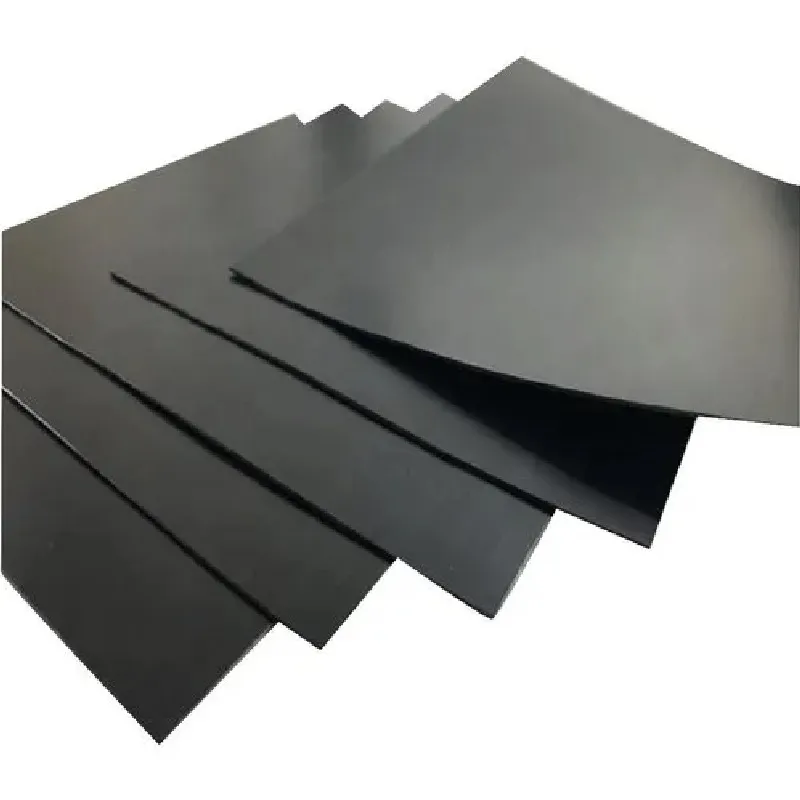
- Extruded Geogrid: Made from extruded polymers, offering a less flexible structure.
Final Thoughts
Geogrids are a simple yet elegant solution for providing stability and longevity to civil structures like retaining walls and paved roads. They are widely popular due to their cost-effectiveness, ease of use, and ability to enhance structural integrity while maintaining safety.
Get Free Sample
We’ll respond as soon as possible(within 12 hours)