



+86-159 9860 6917
info@geofantex.com
geofantex@gmail.com
+86-400-8266163-44899
Understanding how to install geogrid is essential for contractors and project buyers who need reliable soil reinforcement for roads, driveways, retaining structures, and weak subgrades. Correct placement helps develop effective aggregate–geogrid interaction, improve load distribution, and reduce deformation. Before installation, confirm the geogrid type, reinforcement direction, overlap requirements, fill material, and project specifications.
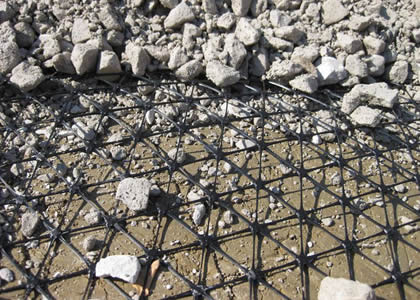
How to Install Geogrid: Step-by-Step Process
Knowing how to install geogrid correctly starts with preparing the subgrade and continues through placement, infill, and compaction. Installation requirements vary according to soil conditions, geogrid type, design loads, and the intended application. Reviewing how to install geogrid for soil reinforcement projects can also help contractors coordinate material selection and construction procedures before work begins.
1. Prepare the Subgrade
Remove debris, roots, sharp objects, and other materials that could damage the geogrid. Level major irregularities and address unsuitable areas according to the project design.
On very weak subgrades, excessive construction traffic or disturbance should be avoided. Site preparation should provide a suitable working surface without unnecessarily reducing the bearing capacity of the existing ground.
2. Position the Geogrid
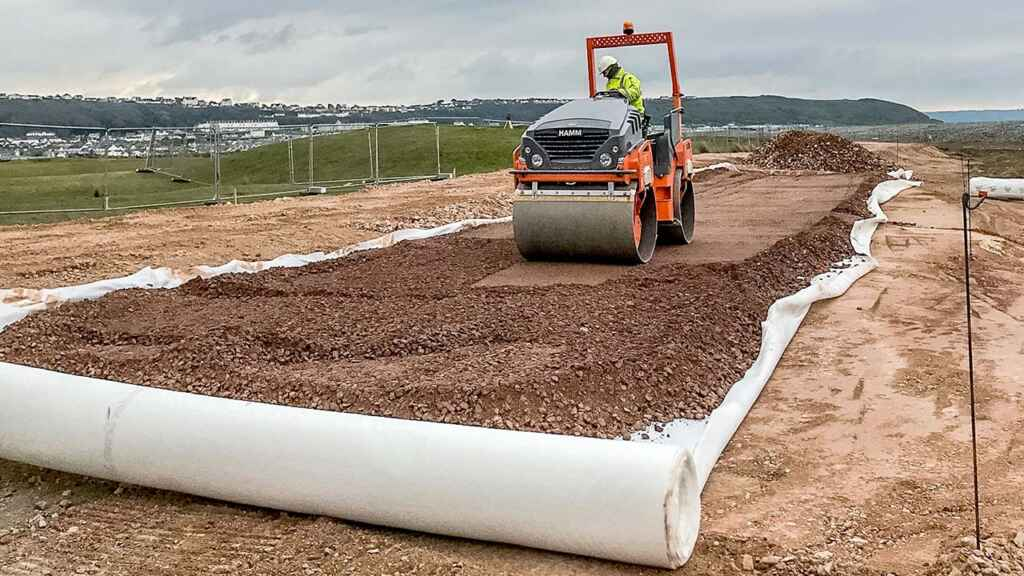
Unroll the geogrid directly over the prepared surface. Keep it flat and reasonably taut, avoiding wrinkles, folds, or excessive slack.
For products with a defined primary strength direction, confirm the correct orientation before placement. Geogrid orientation is particularly important in applications such as retaining walls and reinforced slopes.
3. Provide the Required Overlap
Adjacent rolls should overlap sufficiently to maintain continuity during construction. The required overlap depends on subgrade strength, geogrid type, construction conditions, and project specifications.
Rather than applying one overlap dimension to every project, follow the engineering design and manufacturer recommendations. Weak or unstable subgrades may require larger overlaps or additional securing measures.
4. Place the Fill Material
Place approved aggregate or backfill over the installed geogrid without allowing construction equipment to travel directly on the exposed material unless specifically permitted.
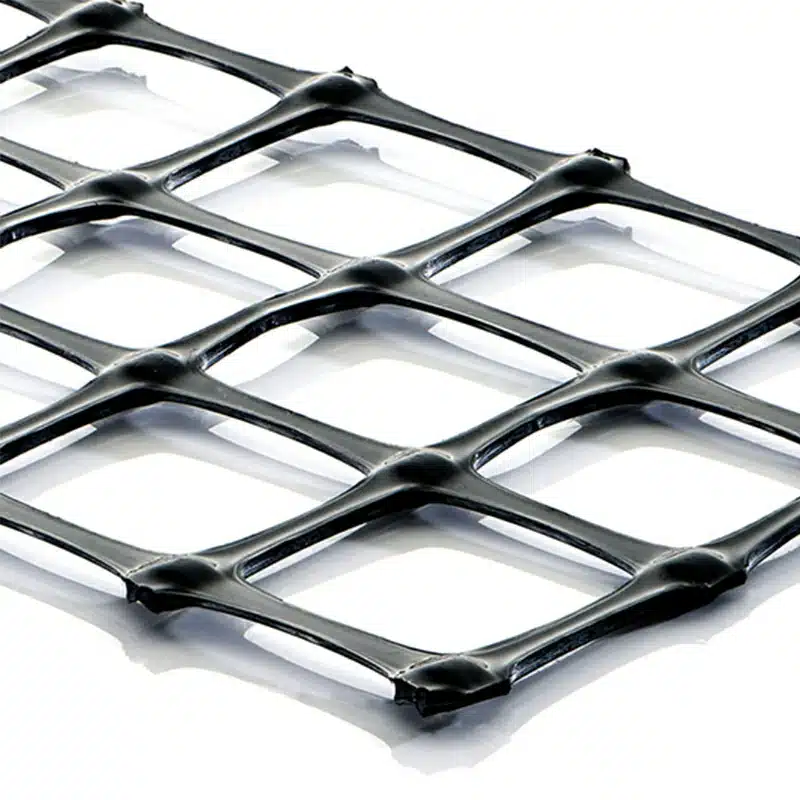
Spread the fill progressively to avoid displacing or damaging the grid. Appropriate aggregate gradation can promote interlock with the apertures and contribute to reinforcement performance.
5. Compact the Reinforced Layer
Compact the fill according to the required density and project specifications. Proper compaction helps develop interaction between the geogrid and surrounding aggregate or soil.
Before installing additional layers, inspect the area for displaced, folded, exposed, or damaged sections.
When Should Geogrid Be Installed?
Understanding how to install geogrid also requires knowing where reinforcement is actually needed. Geogrids are commonly incorporated into projects where soil or aggregate layers require improved stability or load distribution.
Typical applications include:
- Roads and highway base reinforcement
- Driveways and access roads
- Weak or soft subgrades
- Retaining walls
- Reinforced slopes and embankments
- Railway structures
- Working platforms and paved areas
For contractors working across different applications, understanding how to install geogrid for roads and retaining structures is important because reinforcement orientation, layer position, fill requirements, and installation procedures can vary significantly between projects.
The geogrid specification should be selected according to the intended reinforcement mechanism rather than simply using the same product for every application.
How Deep Should You Install Geogrid?
There is no universal installation depth. When determining how to install geogrid within a pavement or reinforced-soil structure, engineers consider subgrade conditions, aggregate thickness, expected loads, geogrid properties, and the overall structural design.
For base stabilization, the grid is often positioned at the subgrade–aggregate interface or within the aggregate layer according to the design. Retaining walls and slopes may require multiple reinforcement layers installed at specified vertical intervals.
Therefore, installation depth and layer spacing should follow engineering drawings rather than a generic depth recommendation.
What Fill Material Should Be Used Over Geogrid?
Selecting suitable fill is another important part of how to install geogrid effectively. For road bases and working platforms, well-graded granular aggregate is commonly used because particles can interact with the grid apertures and develop mechanical interlock.
For reinforced soil structures, approved granular or engineered fill should meet project requirements for particle size, compaction, drainage, and shear strength.
Avoid dumping large quantities of fill directly onto exposed geogrid from excessive heights, as this can cause displacement or installation damage. Fill should instead be placed and spread using controlled construction procedures.
Common Geogrid Installation Mistakes
Even a correctly specified product can perform poorly when installation procedures are unsuitable. Common problems include incorrect orientation, insufficient overlap, wrinkles, damaged grid sections, unsuitable fill, inadequate compaction, and direct equipment traffic on exposed geogrid.
Before deciding how to install geogrid for a specific project, review the engineering drawings, manufacturer instructions, soil conditions, and required construction procedures. Following appropriate how to install geogrid installation and product selection guidance can help ensure that reinforcement type, placement, aggregate, and compaction procedures are compatible with the intended application.
Correct product selection combined with appropriate placement, fill, and compaction helps the reinforced system achieve its intended long-term performance.
Get Free Sample
We’ll respond as soon as possible(within 12 hours)